
2004 Toyota Tundra Radiator Replacement 4.7L iforce Double cab 4×4
Just another quick video showing how to replace the radiator on a 2004 Toyota Tundra Double Cab 4×4 4.7L iforce v8 with automatic transmission. There is no skid plate on this truck, so it was easier to get to everything underneath. It’s not too hard to take off the skid plate if your truck still has one.
Tools Needed:
10mm socket and/or wrench
12mm socket and/or wrench
socket extensions to remove the 12mm bolts, and they worked great to plug the transmission cooling lines as well.
needle nose pliers or regular pliers
new AntiFreeze/Coolant I like to use Toyota Brand if possible
Distilled water to mix with the full strength Antifreeze/coolant
You can also buy it already pre-mixed.
This job isn’t too difficult, and should only take about 1-2 hours. Some people recommend flushing your cooling system prior to changing the radiator, as it will get a lot of the junk and crud out of your cooling system so it doesn’t mess up your new radiator.
To change out the radiator, you need to drain the radiator fluid by opening the valve at the bottom of the radiator.
(You might need to remove the skid-plate first, but my truck doesn’t have one.)
Then, you can remove the plastic fan shroud by removing the 4 10mm bolts that hold it in place. Now, from the front of the truck, you can remove the 4 12mm bolts that hold the radiator’s metal side pieces in place. Now, you can remove the constant-tension hose clamp on the upper radiator hose, and disconnect the overflow hose from the radiator as well (this is near the radiator cap). Now, at the bottom, you will need to remove the hose clamp and the lower radiator hose. And finally, you can remove the transmission cooler lines. They also have constant-tension hose clamps, but you might want to plug these hoses as soon as you take them off so as to not drip transmission fluid everywhere. I just used a couple 3/8″ socket extensions which happened to be close enough in diameter to plug the hoses. Now, you can just lift the radiator out and replace it with the new one. The installation is basically the reverse of removal. Don’t forget to fill it with the correct level of fluid and you are good to go.
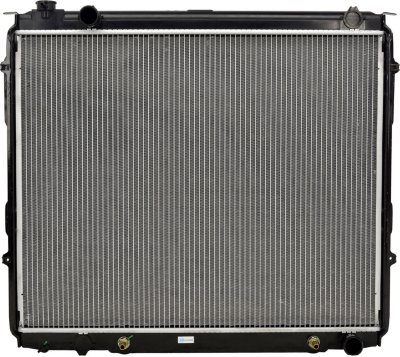
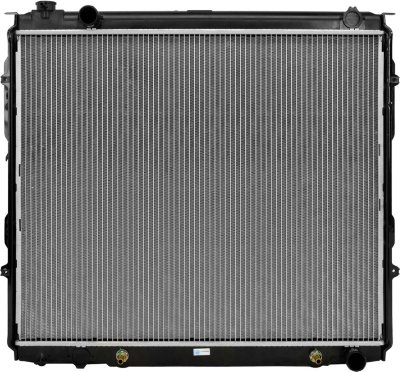
I used a CSF Radiator that I bought locally. I don’t know if it was the part #3237 or #3238, but I am putting links to both of them at the bottom here.
I am putting the links to Amazon and Carparts.com (the larger icons)
At the time of posting these links, Carparts.com was the cheapest price.
I recommend you visit http://csfimports.com/csf-radiators-catalog/
to make sure you get the correct part.